
Why Your Espresso Channeling Sucks (And How to Fix It)
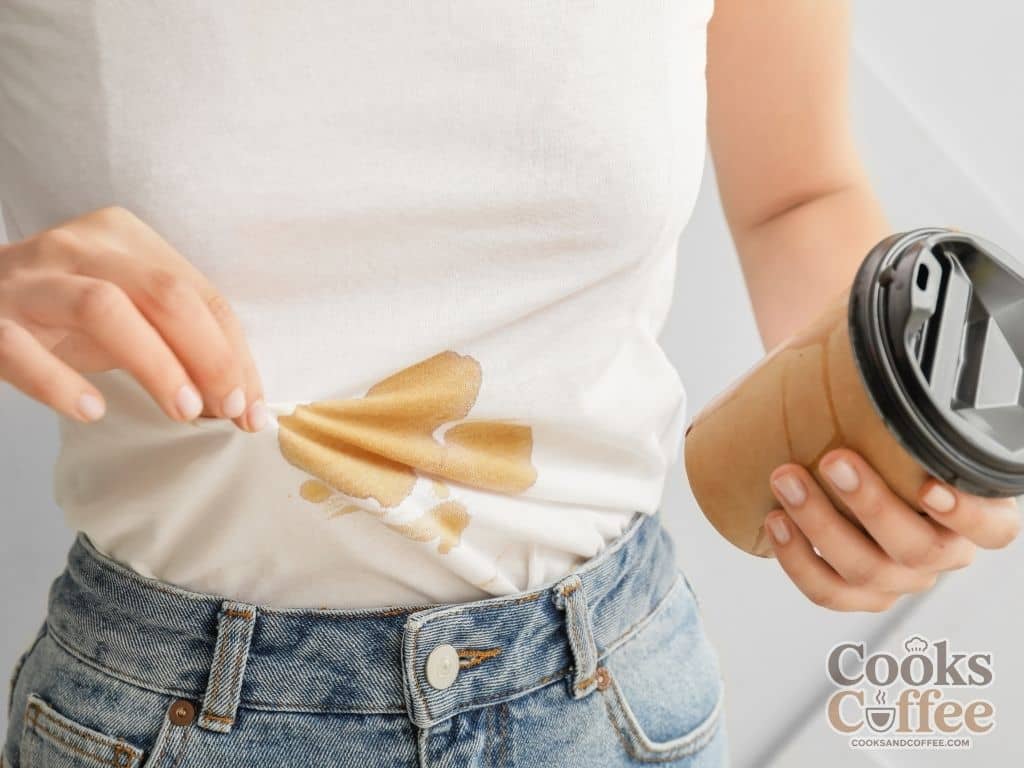
Ugh. Channeling. The arch-nemesis of every home barista. You’ve dialed in your grind, you’ve weighed your beans, and you’re feeling good. You hit the brew switch and instead of a beautiful, syrupy stream of espresso, you get… a messy, sputtering, blonding disaster. It’s enough to make you want to switch to instant coffee. (Just kidding, never that.)
We’ve all been there. Your machine isn’t broken; you’re just dealing with the frustrating phenomenon of channeling. But what if I told you that fixing it isn’t about buying a crazy-expensive machine, but about mastering a few simple, game-changing hacks? Let’s break it down, friend-to-friend, and get you pulling god shots every single time.
What is Channeling, Really? (And Why Should You Care?)
Before we dive into the fixes, let’s get on the same page. In simple terms, channeling is when water, being the lazy thing it is, finds the path of least resistance through your coffee puck.
Instead of pushing through all the grounds evenly, it blasts a tiny hole or cracks through a weak spot. This means some coffee gets over-extracted (bitter, astringent) and some gets under-extracted (sour, weak). The result? A cup that tastes like a confused, bitter mess. Ever had a shot that makes your face do that weird pucker thing? Yep, that’s channeling.
Fixing it is the single biggest leap you can make in your espresso quality. IMO, it’s more important than any fancy gadget. Ready to banish it for good? Let’s go.
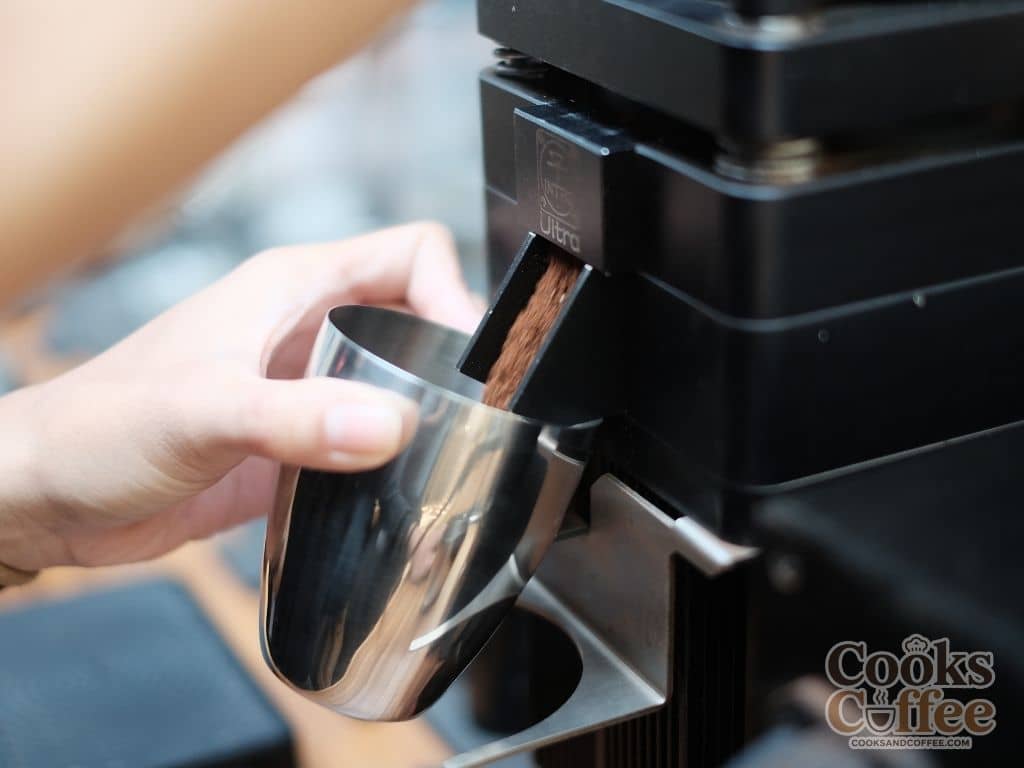
Hack #1: Master Your Grind (It’s Probably Finer Than You Think)
This is the big one. 90% of channeling problems start right here. If your grind is too coarse, the water will just rush through the gaps between the particles. Simple physics.
But here’s the tricky part: a grind that’s just a hair too coarse can cause channeling, even if it looks “okay.” Your goal is to find that sweet spot where the coffee offers just the right amount of resistance.
How to Hack It:
- The Rule of Thumb: If your shot is pulling too fast and sputtering, make your grind finer. Don’t be shy. Adjust one small click on your grinder, pull another shot, and observe. It’s a process of elimination, not a wild guess.
- Invest in a Good Grinder: I know, I know. “Another article telling me to spend money.” But hear me out. A quality burr grinder that offers consistent, uniform particles is non-negotiable. A cheap blade grinder or an inconsistent burr set will create a mix of super-fine dust and large boulders. The water will race around the boulders and get stuck in the dust—a recipe for channeling. A consistent grind is your first and best defense.
Hack #2: Become a Distribution Ninja (Forget the Old School Tap)
Okay, you’ve got your grounds in the portafilter. What’s your next move? If you’re side-tapping the portafilter to settle the grounds, we need to have a little intervention. That method actually creates density layers and air pockets—the perfect environment for channels to form.
Your new best friend is even distribution before you tamp. You want to break up any clumps and create a perfectly level bed of coffee. This is a total game-changer.
How to Hack It:
- The WDT Tool (Weiss Distribution Technique): This sounds fancy, but it’s hilariously simple. You take a few super-thin needles (like acupuncture needles or 3D printer nozzles) and gently swirl them through the grounds in the portafilter. This breaks up all the clumps and erases any air pockets. You can buy a slick WDT tool online or, my personal favorite, make one by poking needles through a wine cork. It’s cheap, it’s effective, and it works shockingly well.
- The Stockfleth Move: After WDT, use your finger or a tool to gently sweep the grounds in a circular motion, moving from the center outward, to create a perfectly flat, mound-free bed. No special tools needed, just a steady hand.
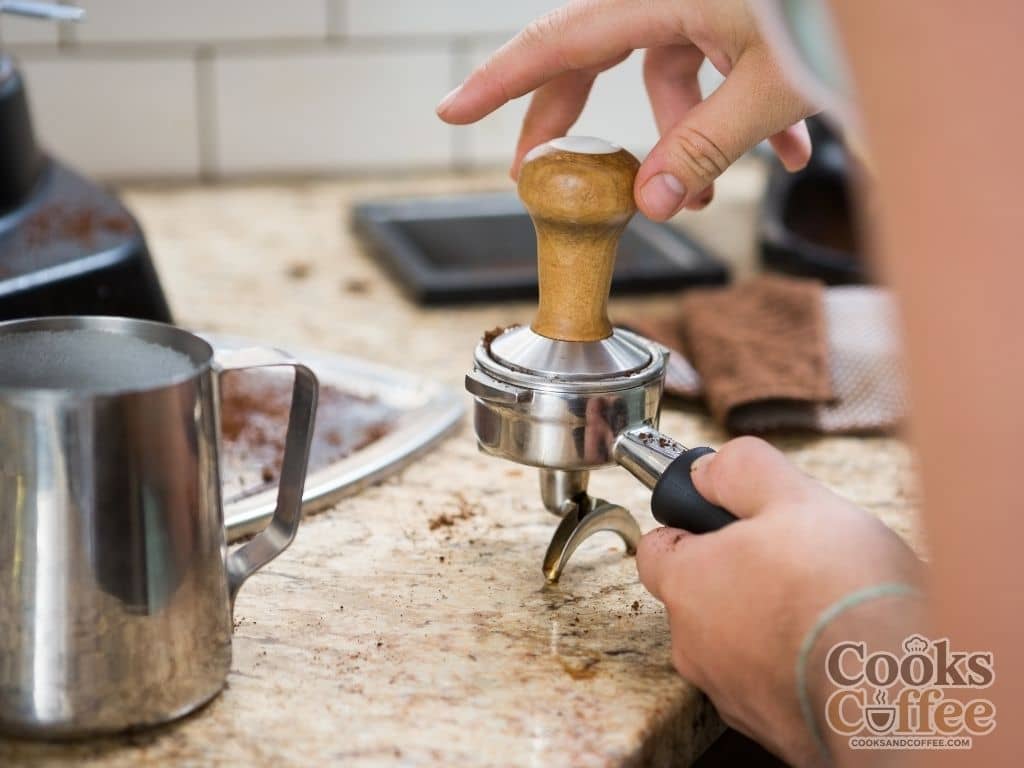
Hack #3: Tamp Like a Pro (Not a Bodybuilder)
Tamping is one of the most misunderstood parts of the process. How hard do you press? The answer might surprise you: it doesn’t matter that much.
The goal of tamping isn’t to create a brick. It’s to create an even, uniform density across the entire puck. You’re just compressing the grounds you’ve so carefully distributed. Once the coffee grounds are compressed to a point, they can’t compress any further. So, 15 pounds of pressure or 30—if you’re applying it evenly, the result is largely the same.
How to Hack It:
- Focus on Level, Not Force: The biggest tamping sin is a crooked tamp. If your tamper is angled, one side of the puck will be denser than the other. The water will take the easy way out through the less dense side. Every. Single. Time. Use your palm to press straight down. I rest the portafilter on my counter and use my body weight to ensure I’m going straight down.
- Consider a Self-Leveling Tamper: If you consistently struggle with a crooked tamp, these tampers are worth their weight in gold. They have a built-in guide that ensures you only press straight down. It’s basically cheating, but it’s allowed. 🙂
Hack #4: Don’t Ignore the Baskets and Shower Screen
Sometimes, the issue isn’t you—it’s your equipment. Well, sort of. The stock baskets that come with most machines are often low-quality and can contribute to channeling.
How to Hack It:
- Upgrade to a Precision Basket: These are baskets manufactured with laser-cut holes that are incredibly uniform and numerous. This promotes even water flow out of the basket, which is just as important as even flow into it from the shower screen. Brands like VST or IMS make fantastic ones. It’s a simple swap that makes a noticeable difference.
- Keep It Clean: A dirty shower screen (the part that water comes out of inside your machine) has clogged holes. If water can’t flow evenly from the start, your puck is doomed. Backflush your machine regularly and give that screen a good scrub. It’s a five-minute task that saves you a world of frustration.
Hack #5: The Pre-infusion Power Play (If You Have It)
This is for my friends with machines that have some more advanced features. Pre-infusion is the process of gently wetting the coffee puck with low-pressure water before the full pump pressure kicks in.
Why is this a hack? It allows the entire puck to expand and bloom evenly. This creates a more uniform surface for the high-pressure water to hit, dramatically reducing the chance of it finding a weak spot to blast through.
How to Hack It:
- Manual Machines: If you have a machine with a lever or manual control, you can do this yourself. Just engage the pump for a few seconds at low pressure before opening the valve all the way.
- Built-in Feature: Many modern machines have a pre-infusion setting. Turn it on! Experiment with it. You might find it gives you a more forgiving and even extraction.
- The Poor Man’s Pre-infusion: No fancy machine? No problem. Try lifting the lever on your machine just enough to let a little water through for 5-7 seconds before fully engaging it. It’s not perfect, but it can help.
Putting It All Together: Your Channeling-Busting Workflow
This might feel like a lot, but it becomes muscle memory. Here’s the quick-hit workflow I follow for every shot:
- Grind into your portafilter on a scale. (You are using a scale, right? :))
- WDT the heck out of those grounds. Swirl and break up every last clump.
- Level the grounds using the Stockfleth move or a leveling tool.
- Tamp straight down with steady, even pressure. Polish if you want, but it’s not necessary.
- Lock the portafilter in and pull your shot immediately.
- Observe. Is it a beautiful, tiger-striped flow? Take a victory sip. Is it sputtering? Time to go a click finer on the grind.
You’ve Got This
Fixing espresso channeling isn’t about one magic bullet. It’s about building a process where each step supports the next. It’s a grind (pun intended), but the reward is that perfect, sweet, complex shot that makes all the effort worth it.
Don’t try to implement all these hacks at once. Pick one—maybe start with WDT—and master it. Then move on to the next. Before you know it, you’ll not only be pulling consistently amazing shots, but you’ll actually understand why they’re amazing. And that, my friend, is the real victory. Now go forth and extract!