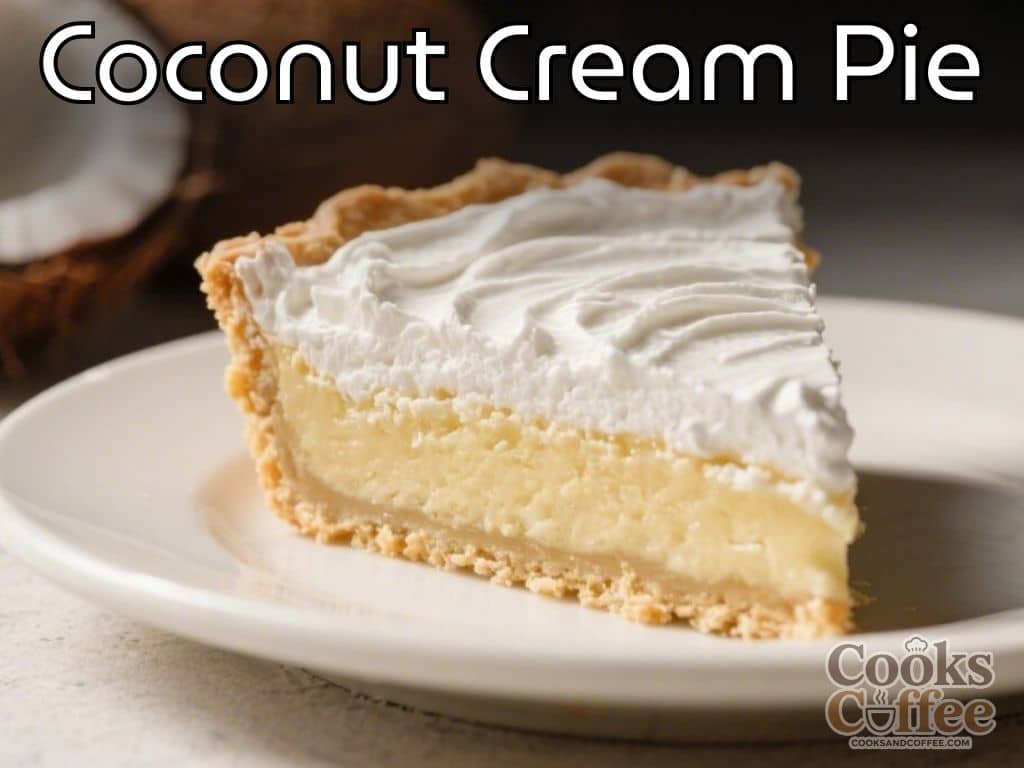
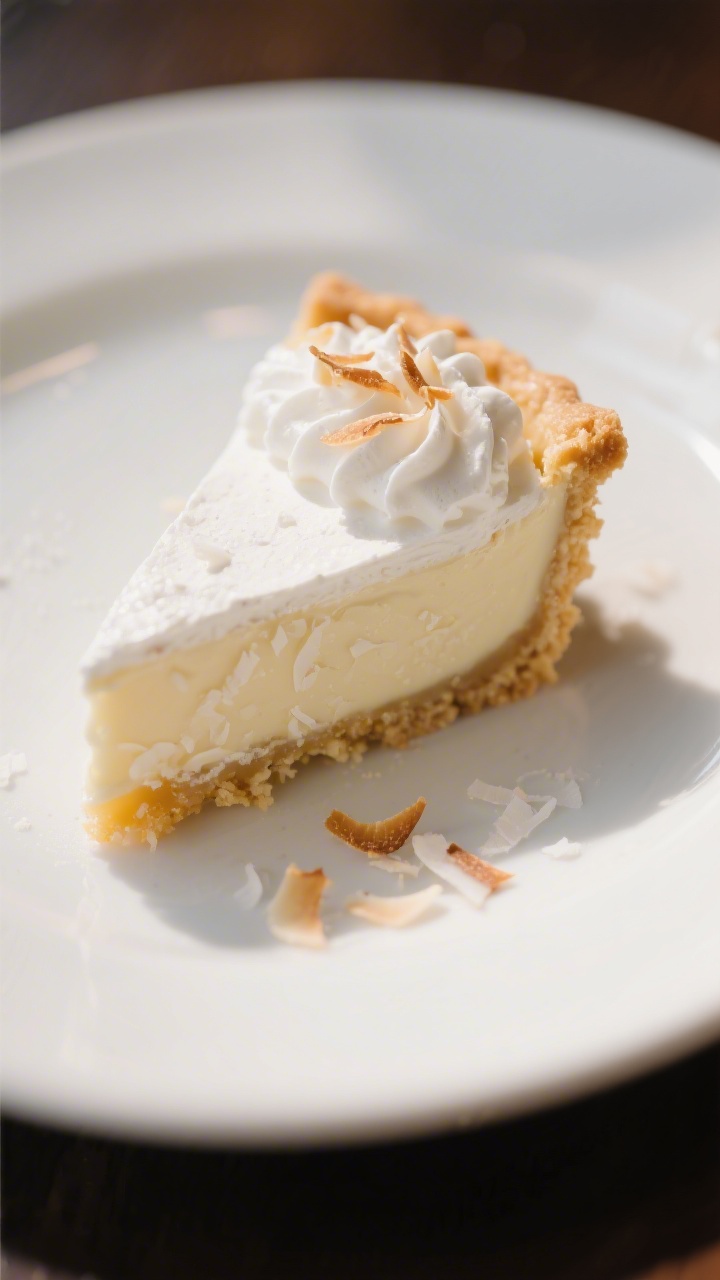
Coconut cream pie is the kind of dessert that makes people light up when they see it. It’s creamy, cool, and full of toasted coconut flavor without being heavy. The crisp crust, silky custard, and fluffy whipped cream hit all the right notes.
If you’re craving something comforting yet fresh, this pie delivers. It also looks impressive, but it’s absolutely doable for a home baker with a little patience.
What Makes This Special
This version leans into coconut in three ways: coconut milk in the custard, shredded coconut folded in, and a generous sprinkle of toasted coconut on top. The filling is smooth and lush, but not cloying, thanks to a balanced amount of sugar and a touch of vanilla.
A quick stovetop custard means no tricky water baths. You can use a homemade pie crust or a good-quality store-bought shell—no judgment here. It’s a crowd-pleaser that feels nostalgic and fresh at the same time.
Ingredients
- For the crust:
- 1 (9-inch) fully baked pie shell (homemade or store-bought)
- For the coconut custard:
- 1 can (13.5–14 oz) full-fat coconut milk
- 1 cup whole milk (or half-and-half for extra richness)
- 3/4 cup granulated sugar
- 1/3 cup cornstarch
- 1/4 teaspoon fine sea salt
- 4 large egg yolks
- 2 tablespoons unsalted butter
- 1 1/2 teaspoons pure vanilla extract
- 1 cup sweetened shredded coconut (plus extra for topping)
- For the topping:
- 1 cup heavy whipping cream, cold
- 2 tablespoons powdered sugar
- 1/2 teaspoon vanilla extract
- 1/2–3/4 cup toasted sweetened shredded coconut
How to Make It
- Toast the coconut. Set the oven to 325°F (165°C).
Spread 1 to 1 1/2 cups shredded coconut on a baking sheet. Bake for 5–8 minutes, stirring once, until golden. Watch closely—it goes from golden to burnt fast. Set aside to cool.
- Prepare the pie shell. If you haven’t already, blind-bake the pie crust until golden and fully set.
Let it cool completely so the filling doesn’t make it soggy.
- Whisk the dry mix. In a medium saucepan off the heat, whisk sugar, cornstarch, and salt until no lumps remain.
- Add liquids and yolks. Whisk in coconut milk and whole milk until smooth. Whisk in egg yolks until fully combined.
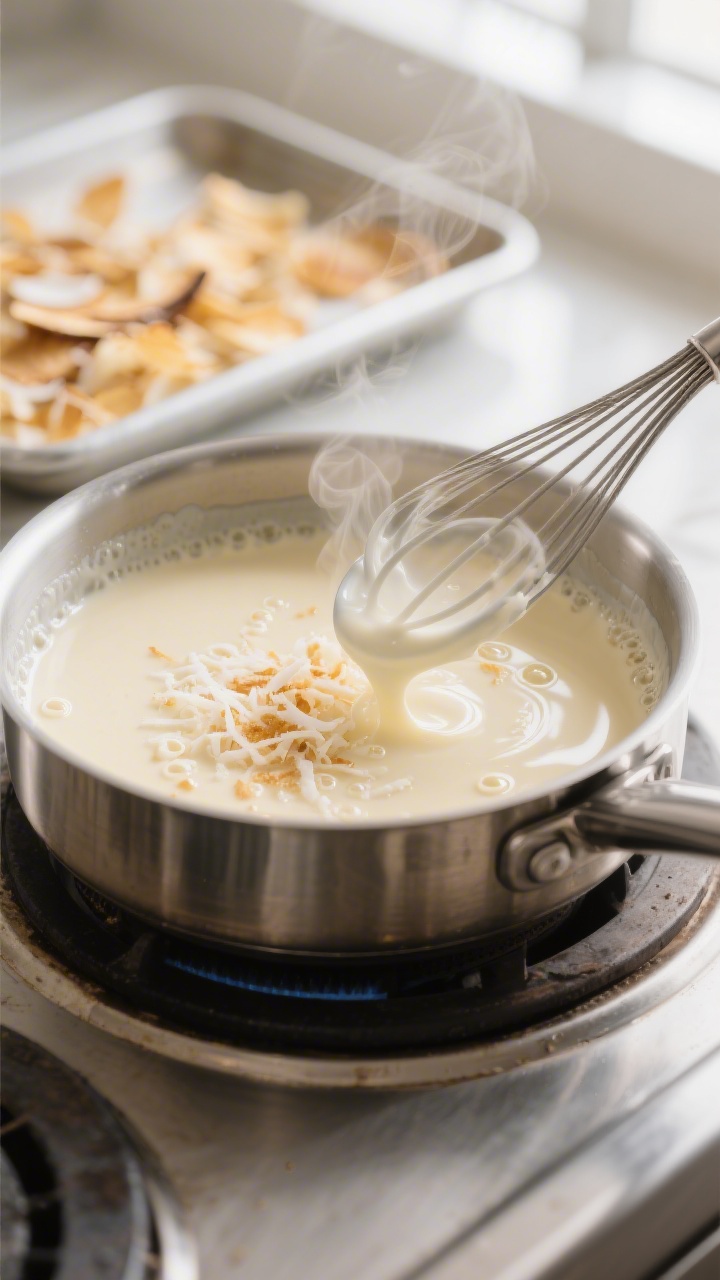
- Cook the custard. Set the pan over medium heat. Cook, whisking steadily, until the mixture thickens and bubbles, 6–10 minutes.
Once it boils, cook 1 minute more to set the cornstarch. The custard should be thick enough to coat a spoon.
- Finish the filling. Remove from heat. Whisk in butter and vanilla.
Fold in 1 cup shredded coconut. Taste and adjust sweetness or vanilla if needed.
- Fill the crust. Pour the warm custard into the cooled pie shell. Smooth the top.
Press a piece of plastic wrap directly onto the surface to prevent a skin.
- Chill until set. Refrigerate for at least 4 hours, or overnight for the cleanest slices. The filling should be fully set and sliceable.
- Whip the cream. In a cold bowl, beat heavy cream, powdered sugar, and vanilla to medium-soft peaks. You want it fluffy but not stiff or grainy.
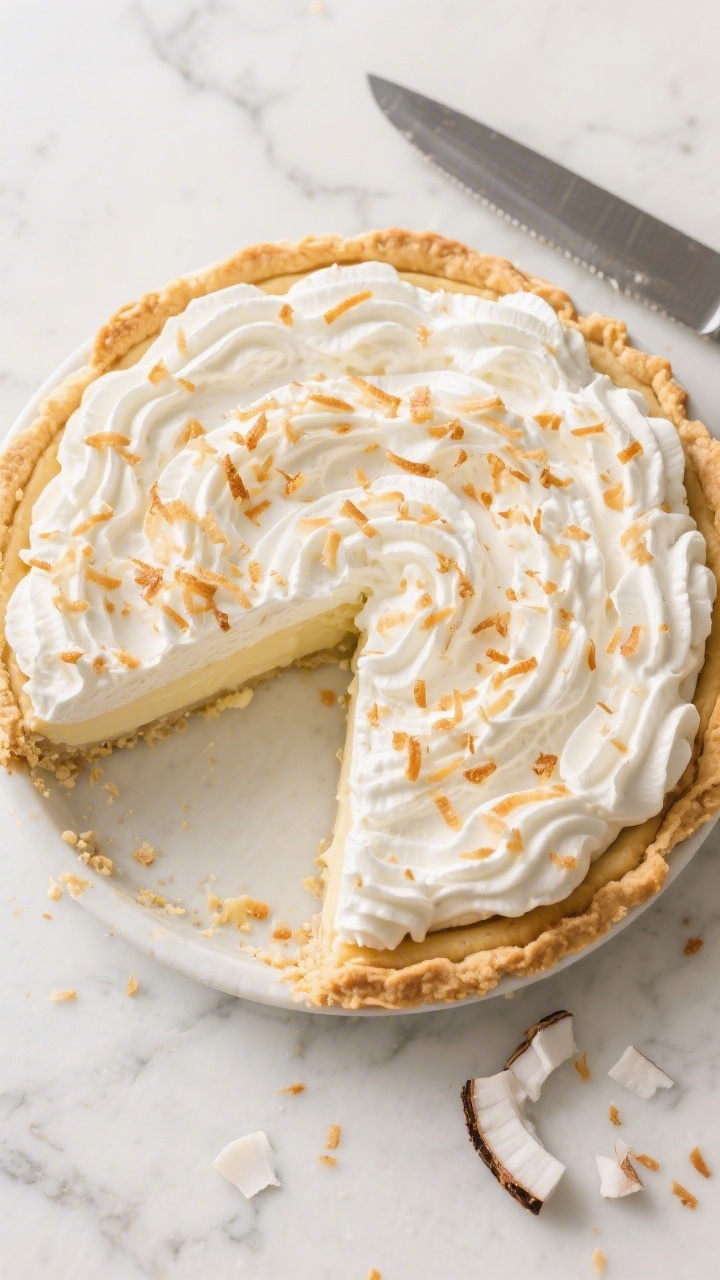
- Finish and serve. Remove plastic wrap, top the pie with whipped cream, and sprinkle generously with toasted coconut.
Slice with a sharp knife, wiping between cuts for neat slices.
Storage Instructions
Keep the pie covered and refrigerated. It’s best within 2 days, though it will hold for up to 3. For the neatest presentation, add the whipped cream and toasted coconut the day you plan to serve.
If making ahead, store the baked crust at room temperature and the custard-filled pie in the fridge. Avoid freezing—custard can separate and the texture suffers.
Why This is Good for You
This dessert is a treat, but there are a few perks. Coconut milk contains medium-chain fats, which your body can use for quick energy. Egg yolks offer protein and important vitamins like A, D, and B12. Keeping sugar balanced lets the coconut flavor shine, so you don’t need to overdo it.
Served in modest slices, it’s a satisfying way to end a meal without feeling weighed down.
Pitfalls to Watch Out For
- Scorched coconut: Toasted coconut burns fast. Stir halfway and keep an eye on it.
- Runny filling: The custard must boil for at least 1 minute after thickening to activate the cornstarch. If it doesn’t, it may not set.
- Weepy whipped cream: Overbeaten cream turns grainy and can separate.
Stop at soft to medium peaks.
- Soggy crust: Always cool the crust before adding warm custard. A fully baked crust holds up better than a par-baked one.
- Lumpy custard: Constant whisking and a steady medium heat prevent curdling. If you see small lumps, strain the hot custard through a fine-mesh sieve before adding coconut.
Recipe Variations
- Chocolate-lined crust: Brush the cooled crust with a thin layer of melted dark chocolate and let it set before adding the filling.
It adds flavor and a moisture barrier.
- Coconut cookie crust: Swap the pie shell for a coconut cookie or graham cracker crust mixed with shredded coconut and butter. Bake 8–10 minutes to set, then cool.
- Pineapple twist: Fold in 1/2 cup well-drained crushed pineapple to the cooled custard for a tropical note. Reduce sugar slightly to balance.
- Dairy-free: Use all coconut milk (two cans), a plant-based butter, and a dairy-free whipped topping.
Ensure your crust is dairy-free.
- Less sweet: Cut the sugar in the custard to 1/2 cup and use unsweetened coconut. Taste and adjust vanilla to keep the flavor round.
- Toasted almond finish: Sprinkle slivered almonds with the coconut on top for crunch and a nutty contrast.
FAQ
Can I make the custard without eggs?
Yes. Increase cornstarch to 1/2 cup, use two full cans of coconut milk, and skip the yolks.
The texture will be slightly different—more pudding-like—but still smooth and sliceable if cooked fully.
What if I only have light coconut milk?
It will work, but the filling won’t be as rich and may set a bit softer. To compensate, use half-and-half instead of whole milk or add an extra tablespoon of cornstarch.
How do I avoid a skin forming on the custard?
Press plastic wrap directly onto the hot custard surface before chilling. This keeps air out and prevents a skin.
Remove it just before adding the whipped cream.
Can I use unsweetened shredded coconut?
Absolutely. The texture is chewier and the flavor more natural. If you prefer the signature bakery-style sweetness, add an extra tablespoon or two of sugar to the custard.
How far ahead can I make it?
You can make the crust and custard the day before.
Chill the filled pie overnight. Whip the cream and add the toasted coconut within a few hours of serving for the best texture.
Why did my custard turn lumpy?
Usually it’s from high heat or stopping whisking. If it happens, strain the custard while hot and whisk in the butter and vanilla.
Tiny lumps won’t affect flavor, but straining improves texture.
What’s the best knife for clean slices?
Use a sharp chef’s knife dipped in hot water and wiped dry between cuts. This glides through the custard and whipped cream without dragging.
Wrapping Up
Coconut cream pie is pure comfort with a sunny twist. With a crisp crust, a silky coconut custard, and a snowy cap of whipped cream, it’s hard to beat.
Follow the simple steps, watch the heat, and chill it well. You’ll have a dessert that tastes like a bakery classic and feels proudly homemade. Serve it cold, share generously, and don’t forget that extra sprinkle of toasted coconut on top.

Coconut Cream Pie – A Silky, Toasty Classic
Ingredients
- For the crust: 1 (9-inch) fully baked pie shell (homemade or store-bought)
- For the coconut custard: 1 can (13.5–14 oz) full-fat coconut milk
- 1 cup whole milk (or half-and-half for extra richness)
- 3/4 cup granulated sugar
- 1/3 cup cornstarch
- 1/4 teaspoon fine sea salt
- 4 large egg yolks
- 2 tablespoons unsalted butter
- 1 1/2 teaspoons pure vanilla extract
- 1 cup sweetened shredded coconut (plus extra for topping)
- For the topping: 1 cup heavy whipping cream, cold
- 2 tablespoons powdered sugar
- 1/2 teaspoon vanilla extract
- 1/2–3/4 cup toasted sweetened shredded coconut
Instructions
- Toast the coconut. Set the oven to 325°F (165°C). Spread 1 to 1 1/2 cups shredded coconut on a baking sheet. Bake for 5–8 minutes, stirring once, until golden. Watch closely—it goes from golden to burnt fast. Set aside to cool.
- Prepare the pie shell. If you haven’t already, blind-bake the pie crust until golden and fully set. Let it cool completely so the filling doesn’t make it soggy.
- Whisk the dry mix. In a medium saucepan off the heat, whisk sugar, cornstarch, and salt until no lumps remain.
- Add liquids and yolks. Whisk in coconut milk and whole milk until smooth. Whisk in egg yolks until fully combined.
- Cook the custard. Set the pan over medium heat. Cook, whisking steadily, until the mixture thickens and bubbles, 6–10 minutes. Once it boils, cook 1 minute more to set the cornstarch. The custard should be thick enough to coat a spoon.
- Finish the filling. Remove from heat. Whisk in butter and vanilla. Fold in 1 cup shredded coconut. Taste and adjust sweetness or vanilla if needed.
- Fill the crust. Pour the warm custard into the cooled pie shell. Smooth the top. Press a piece of plastic wrap directly onto the surface to prevent a skin.
- Chill until set. Refrigerate for at least 4 hours, or overnight for the cleanest slices. The filling should be fully set and sliceable.
- Whip the cream. In a cold bowl, beat heavy cream, powdered sugar, and vanilla to medium-soft peaks. You want it fluffy but not stiff or grainy.
- Finish and serve. Remove plastic wrap, top the pie with whipped cream, and sprinkle generously with toasted coconut. Slice with a sharp knife, wiping between cuts for neat slices.