

Crisp on the outside and chewy in the middle, these Coconut Macaroon Nests are a sweet little project that looks impressive with very little effort. They’re perfect for spring gatherings, Easter dessert tables, or anytime you want a bite-sized treat that tastes like a coconut cloud. Each nest holds a few candy “eggs,” making them cute, kid-friendly, and endlessly giftable.
You mix, scoop, shape, and bake—easy enough for a weeknight, special enough for a celebration.
Why This Recipe Works
These coconut nests use sweetened shredded coconut for built-in moisture and chew. A touch of almond extract boosts the flavor, while egg whites act as the binder that keeps everything from crumbling. A quick chill helps the mixture firm up, so scooping and shaping is a breeze.
Baking at a moderate temperature dries the outside just enough, leaving the centers soft and tender. A bit of melted chocolate in the “nest” helps anchor the candy eggs and adds a rich, satisfying finish.
What You’ll Need
- Sweetened shredded coconut (about 4 cups) – for structure and sweetness
- Granulated sugar (1/2 cup) – balances the coconut and helps browning
- Egg whites (3 large) – bind the mixture and give it lift
- Vanilla extract (1 teaspoon) – rounds out the flavor
- Almond extract (1/2 teaspoon, optional)
- Salt (1/4 teaspoon) – sharpens the sweetness
- All-purpose flour (2 tablespoons, optional) – for extra structure if your mixture feels loose
- Chocolate chips or melting wafers (1 cup) – for “glue” and flavor
- Mini candy eggs (jelly beans, chocolate eggs, or pastel M&Ms)
- Nonstick cooking spray or parchment paper
Step-by-Step Instructions
- Prep the oven and pans. Heat your oven to 325°F (163°C). Line two baking sheets with parchment paper or silicone mats.
Lightly mist with spray if your parchment is slick.
- Whisk the egg whites. In a large bowl, whisk egg whites, sugar, vanilla, almond extract, and salt until the mixture looks frothy and the sugar starts to dissolve, about 30–45 seconds.
- Add the coconut. Stir in the shredded coconut until every strand is coated. If the mixture looks very wet or slumps when mounded, sprinkle in the flour and fold to combine.
- Chill briefly. Cover the bowl and refrigerate for 15–20 minutes. This helps the nests hold their shape and bake evenly.
- Scoop the mounds. Use a heaping tablespoon or a #40 cookie scoop to portion the mixture onto the prepared sheets, spacing about 2 inches apart.
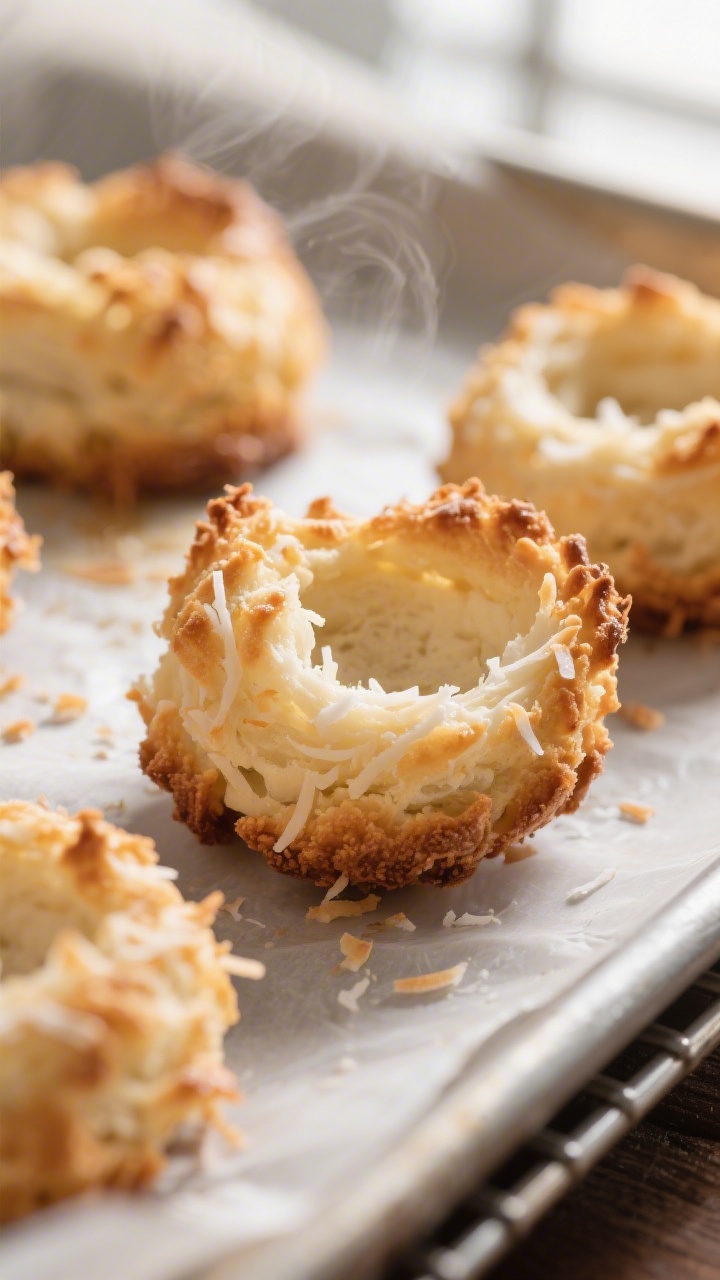
- Shape the nests. With damp fingertips, press a shallow well in the center of each mound and tidy the edges to look like a small nest.
Keep the sides slightly higher than the middle.
- Bake until golden. Bake for 16–20 minutes, rotating the pans halfway through. The edges should turn deep golden and the tops lightly toasted, while the centers remain pale.
- Cool completely. Let the nests cool on the sheet for 5 minutes, then transfer to a rack to cool fully. They’ll firm up as they cool.
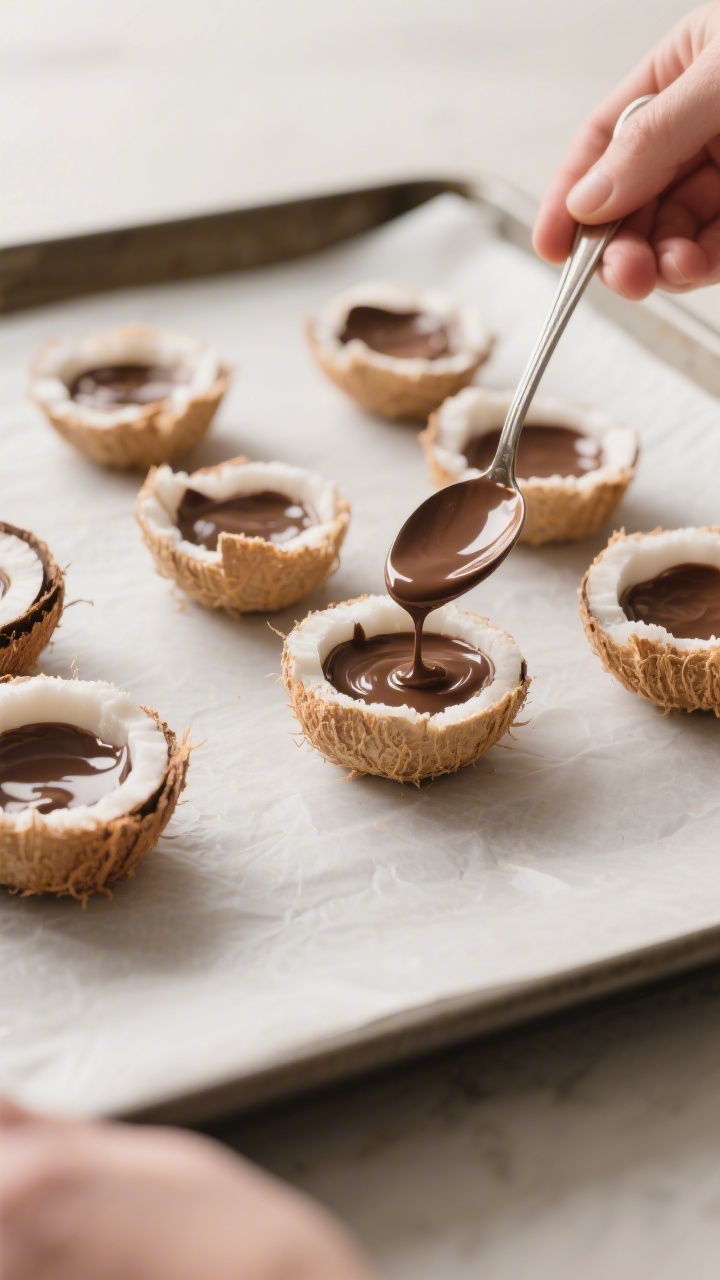
- Add the chocolate. Melt the chocolate chips in the microwave in 20-second bursts, stirring between each, until smooth.
Spoon a small pool of chocolate into each nest’s well.
- Nest the eggs. Press 2–3 mini candy eggs into the chocolate. Let them set at room temperature, or speed it up by chilling the trays for 10 minutes.
Storage Instructions
- Room temperature: Store in an airtight container for up to 4 days. Add a sheet of parchment between layers to avoid sticking.
- Refrigerator: Keeps for up to 1 week, but let them come to room temp before serving for the best texture.
- Freezer: Freeze plain baked nests (without chocolate or candy) for up to 2 months.
Thaw, then add chocolate and eggs just before serving.
- Humidity tip: Moist air softens the crisp edges. Add a small silica gel food-safe packet or a dry paper towel in the container to reduce moisture.

Health Benefits
- Coconut provides fiber and healthy fats, which can help with satiety and steady energy. The medium-chain triglycerides (MCTs) in coconut are quickly used for energy.
- Egg whites add protein without extra fat or cholesterol, making the treat a bit more balanced compared to all-butter cookies.
- Portion control is built in. These are naturally small, so it’s easier to enjoy a sweet bite without going overboard.
- Gluten-light option. If you skip the flour or use a gluten-free substitute, these are easy to adapt for gluten-sensitive guests.
Common Mistakes to Avoid
- Skipping the chill time. A quick chill helps the mixture hold its shape.
Without it, nests can spread and lose their form.
- Overbaking. You want golden edges and a soft center. Too long in the oven leads to dry, crumbly nests.
- Not shaping a deep enough well. Make a clear dip in the center so the chocolate and eggs sit securely.
- Using unsweetened coconut without adjusting. If you only have unsweetened, add 2–3 extra tablespoons of sugar and a pinch more vanilla to balance flavor and moisture.
- Adding candy before the chocolate sets. If the chocolate is too hot or too thin, the eggs may slide. Give it a minute to cool slightly before adding candy.
Alternatives
- Flavor swaps: Replace almond extract with coconut or orange extract.
Add citrus zest for a fresh twist.
- Chocolate variations: Try white chocolate or dark chocolate, or drizzle melted chocolate over the top instead of using it as glue.
- Healthier candy: Use dark chocolate almonds, unsweetened dried blueberries, or yogurt-covered raisins in place of candy eggs.
- Dairy-free: Choose dairy-free chocolate and candies. The macaroon base is naturally dairy-free.
- Gluten-free: Skip the flour or use a gluten-free all-purpose blend if you need a bit of structure.
- Toasted coconut: For deeper flavor, lightly toast half the coconut in a dry skillet and mix it with the untoasted half before baking.
FAQ
Can I use unsweetened shredded coconut?
Yes, but you’ll need to increase the sugar slightly and watch the moisture. Start by adding 2 tablespoons more sugar and taste the mixture (without raw egg) by mixing the sugar with coconut first, or adjust after baking by adding a sweeter chocolate.
Do I need a mixer to make these?
No.
A whisk, a bowl, and a spatula are enough. The batter comes together by hand in just a few minutes.
How do I prevent sticky hands when shaping?
Lightly dampen your fingers or use a tiny bit of neutral oil on your fingertips. Reshape quickly and avoid overhandling so the mixture doesn’t warm up.
Can I make them ahead?
Absolutely.
Bake the nests a day or two in advance, then add chocolate and candy the day you plan to serve. This keeps the shells crisp and the candy fresh.
Why did my nests spread flat?
Your mixture was likely too wet, the oven wasn’t fully preheated, or the pans were warm. Add a spoonful of flour, chill longer, and bake on cool, lined sheets at the correct temperature.
What if I don’t have candy eggs?
Use small chocolate chips, rainbow sprinkles, mini marshmallows, or dried fruit.
The look changes, but the flavor stays great.
Can I reduce the sugar?
You can cut the granulated sugar to 1/3 cup if using sweetened coconut. The texture will be slightly less glossy and the edges may brown a bit faster, so watch the bake time.
How many nests does this make?
Expect about 20–24 small nests, depending on your scoop size. For larger nests, bake a minute or two longer.
In Conclusion
Coconut Macaroon Nests are a charming, low-stress bake that brings big flavor and a playful look to your table.
With a short ingredient list and simple steps, they’re an easy win for holidays, potlucks, or just because. Keep the edges golden, the centers chewy, and the wells deep enough to cradle a few candies. Once you try them, they’ll become a repeat favorite every spring—and plenty of times in between.

Coconut Macaroon Nests – A Fun, Chewy Spring Treat
Ingredients
- Sweetened shredded coconut (about 4 cups) – for structure and sweetness
- Granulated sugar (1/2 cup) – balances the coconut and helps browning
- Egg whites (3 large) – bind the mixture and give it lift
- Vanilla extract (1 teaspoon) – rounds out the flavor
- Almond extract (1/2 teaspoon, optional)
- Salt (1/4 teaspoon) – sharpens the sweetness
- All-purpose flour (2 tablespoons, optional) – for extra structure if your mixture feels loose
- Chocolate chips or melting wafers (1 cup) – for “glue” and flavor
- Mini candy eggs (jelly beans, chocolate eggs, or pastel M&Ms)
- Nonstick cooking spray or parchment paper
Instructions
- Prep the oven and pans. Heat your oven to 325°F (163°C). Line two baking sheets with parchment paper or silicone mats. Lightly mist with spray if your parchment is slick.
- Whisk the egg whites. In a large bowl, whisk egg whites, sugar, vanilla, almond extract, and salt until the mixture looks frothy and the sugar starts to dissolve, about 30–45 seconds.
- Add the coconut. Stir in the shredded coconut until every strand is coated. If the mixture looks very wet or slumps when mounded, sprinkle in the flour and fold to combine.
- Chill briefly. Cover the bowl and refrigerate for 15–20 minutes. This helps the nests hold their shape and bake evenly.
- Scoop the mounds. Use a heaping tablespoon or a #40 cookie scoop to portion the mixture onto the prepared sheets, spacing about 2 inches apart.
- Shape the nests. With damp fingertips, press a shallow well in the center of each mound and tidy the edges to look like a small nest. Keep the sides slightly higher than the middle.
- Bake until golden. Bake for 16–20 minutes, rotating the pans halfway through. The edges should turn deep golden and the tops lightly toasted, while the centers remain pale.
- Cool completely. Let the nests cool on the sheet for 5 minutes, then transfer to a rack to cool fully. They’ll firm up as they cool.
- Add the chocolate. Melt the chocolate chips in the microwave in 20-second bursts, stirring between each, until smooth. Spoon a small pool of chocolate into each nest’s well.
- Nest the eggs. Press 2–3 mini candy eggs into the chocolate. Let them set at room temperature, or speed it up by chilling the trays for 10 minutes.