
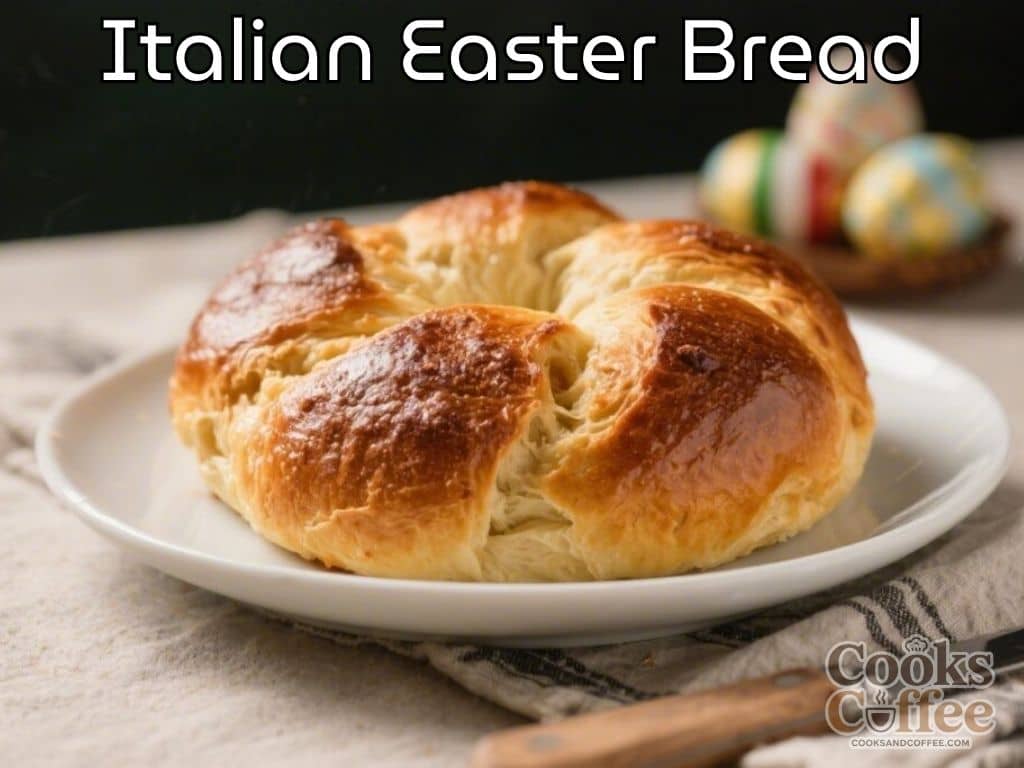
Italian Easter bread is the kind of recipe that turns an ordinary morning into something special. Lightly sweet, soft, and beautifully braided, it’s a loaf that feels as good to make as it does to eat. Many families bake it with colorful eggs tucked into the dough, and a sprinkle of bright sugar on top.
It’s simple enough for beginners, yet impressive enough for holiday tables. If you’re craving a warm, comforting bake with a touch of tradition, this one hits the mark.
What Makes This Recipe So Good
- Soft, tender crumb: The dough is enriched with milk, eggs, and butter, giving it a pillowy texture.
- Lightly sweet flavor: Just enough sugar to feel like a treat without being overly dessert-like.
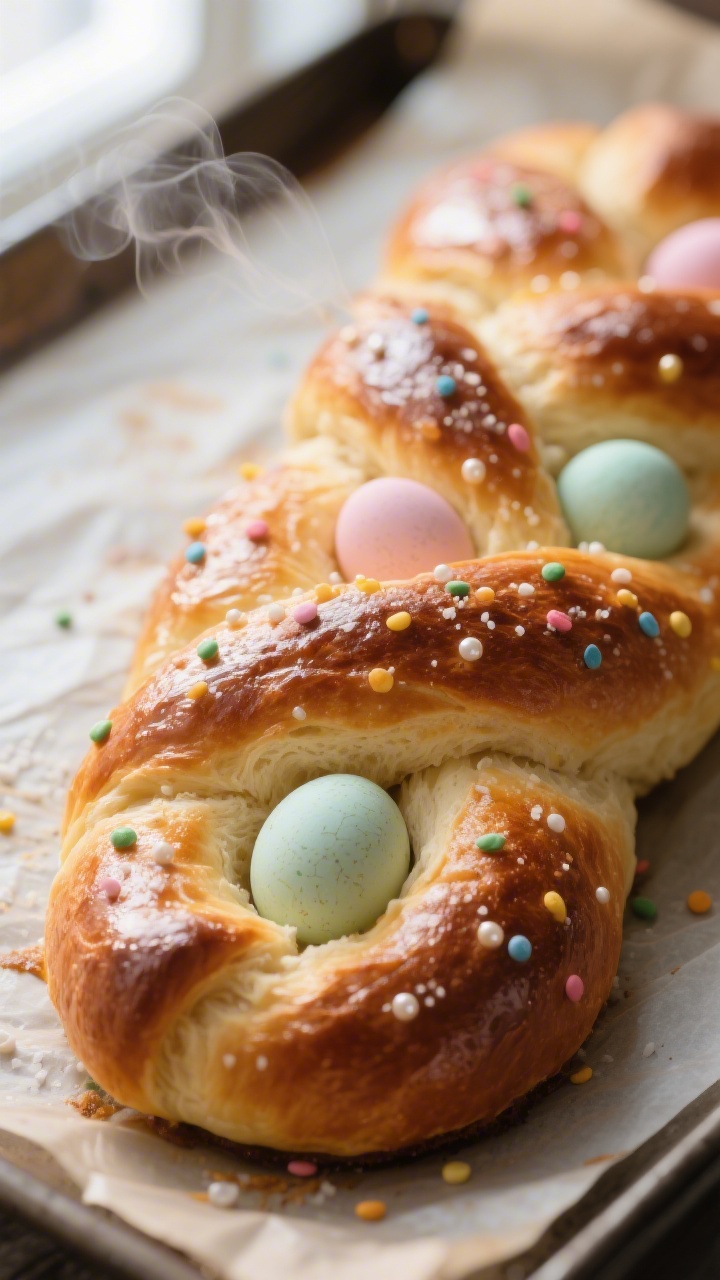
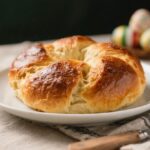
- Beautiful presentation: The braided shape and colored eggs make it a showstopper.
- Flexible dough: Easy to shape into rings, braids, or a single loaf.
- Great for sharing: This recipe makes multiple small rings or one large braid that’s perfect for gatherings.
What You’ll Need
- All-purpose flour: About 4 to 5 cups, divided
- Granulated sugar: 1/2 cup
- Instant or active dry yeast: 2 1/4 teaspoons (one packet)
- Whole milk: 1 cup, warmed to about 110°F/43°C
- Unsalted butter: 1/4 cup (half a stick), melted and cooled
- Eggs for dough: 2 large
- Vanilla extract: 1 teaspoon (optional but nice)
- Fine sea salt: 3/4 teaspoon
- Whole raw eggs to nest in the braid (optional): 3 to 6, dyed or plain
- Egg wash: 1 egg beaten with 1 tablespoon milk or water
- Sprinkles or pearl sugar: For topping (optional)
- Lemon or orange zest: 1 to 2 teaspoons for a citrus note (optional but traditional)
How to Make It
- Warm the milk: Heat milk until just warm to the touch (about 110°F). If it’s too hot, let it cool a few minutes so it doesn’t kill the yeast.
- Activate the yeast (if using active dry): Stir yeast and a pinch of sugar into the warm milk.
Let it sit 5–10 minutes until foamy. If using instant yeast, you can add it directly to the flour and skip this step.
- Mix the wet ingredients: In a large bowl, whisk the eggs, sugar, melted butter, vanilla, and zest (if using). Stir in the milk-yeast mixture.
- Add the dry ingredients: In the same bowl, add 3 1/2 cups of flour and salt.
Mix with a wooden spoon or dough hook until a shaggy dough forms.
- Knead: Turn the dough onto a lightly floured surface and knead 8–10 minutes, adding just enough flour to keep it from sticking. Aim for soft and slightly tacky, not dry. If using a stand mixer, knead with the dough hook 6–8 minutes on medium-low.
- First rise: Form into a ball, place in a lightly oiled bowl, cover, and let rise in a warm place until doubled, about 60–90 minutes.
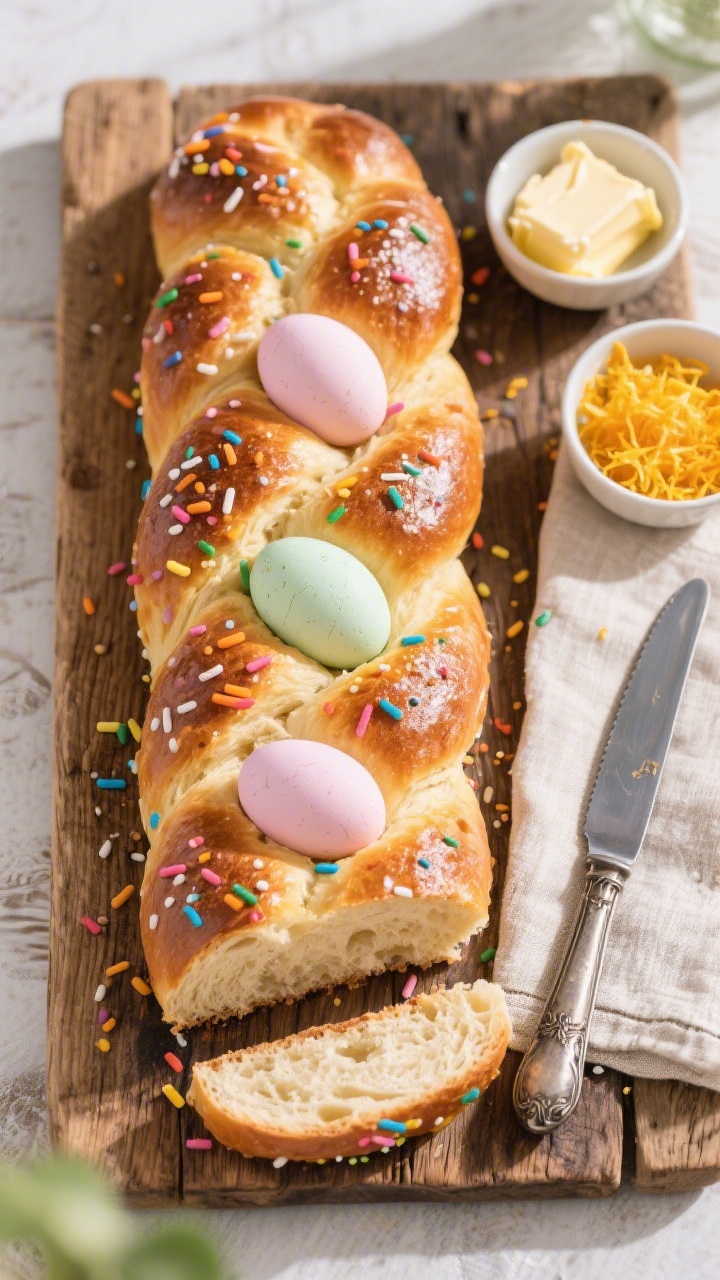
- Shape the dough: For a large braid, divide dough into 3 equal ropes, each about 16–18 inches long.
Pinch the ends and braid gently. For small rings, make 6 ropes and braid pairs into circles, pinching ends together.
- Add the eggs (optional): If nesting eggs in the dough, tuck raw, dyed eggs gently into the braid. They’ll cook in the oven.
Don’t press too deep—just enough so they stay put.
- Second rise: Transfer to a parchment-lined baking sheet. Cover loosely and let rise until puffy, about 30–45 minutes. Preheat oven to 350°F (175°C) while it rises.
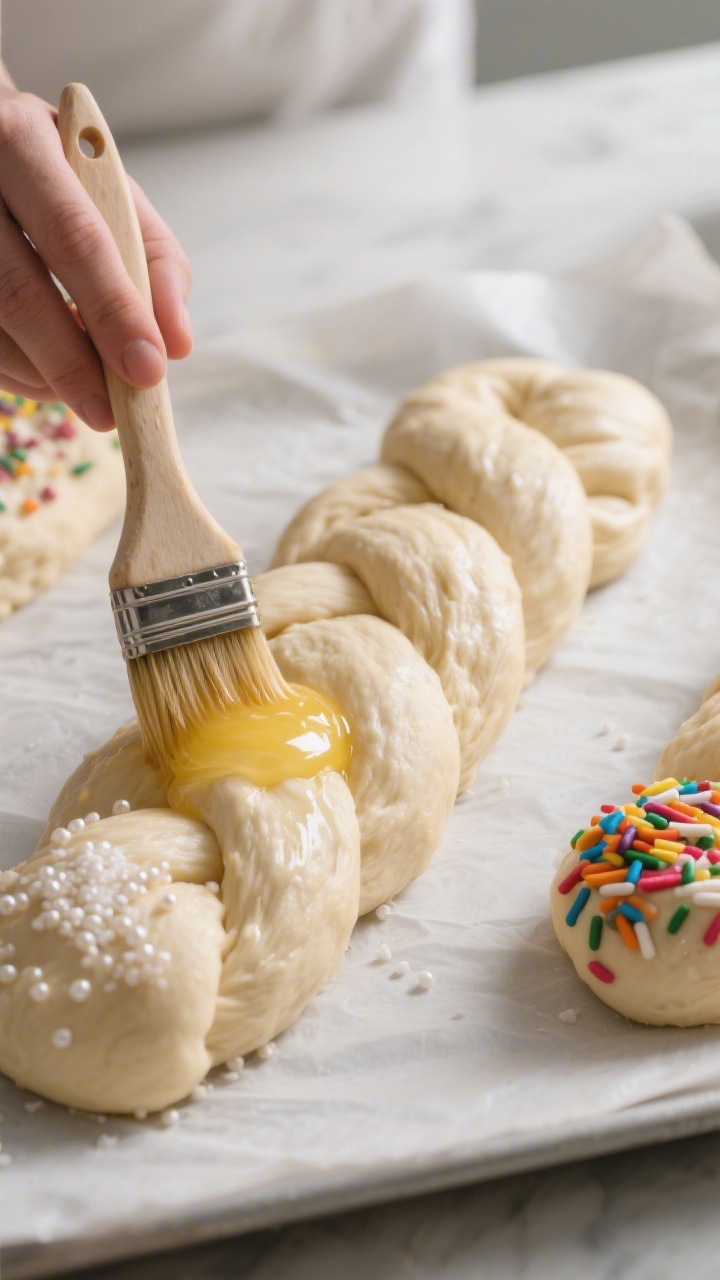
- Brush and top: Brush with egg wash for shine.
Sprinkle with colorful sprinkles or pearl sugar if you like.
- Bake: Bake 25–30 minutes for a large braid or 18–22 minutes for smaller rings, until golden brown and the loaf sounds hollow when tapped. Tent with foil if browning too fast.
- Cool: Transfer to a rack and let cool at least 20–30 minutes before slicing. The texture sets as it cools.
Keeping It Fresh
- Room temperature: Wrap tightly in plastic or keep in an airtight container for up to 3 days.
- Freeze: Wrap the cooled loaf well in plastic, then foil.
Freeze up to 2 months. Thaw at room temperature, then warm briefly in the oven.
- Avoid the fridge: Refrigeration can dry out enriched doughs. Room temp or freezer works best.
- Refresh slices: Lightly toast or warm in a low oven to bring back softness.
Benefits of This Recipe
- Celebratory and meaningful: A beautiful tradition to share with family and friends.
- Beginner-friendly: The dough is forgiving and easy to shape.
- Customizable: Adjust sweetness, add zest, or shape in different ways.
- Versatile serving: Great with butter, jam, or even alongside savory dishes.
Common Mistakes to Avoid
- Overheating the milk: Milk hotter than 115°F can kill yeast and prevent rising.
- Adding too much flour: A sticky dough is normal at first.
Add flour slowly to keep it soft and tender.
- Skipping the second rise: This step helps the loaf bake up light and airy.
- Overbaking: Pull it when golden and set. Overbaking dries out the crumb.
- Pressing eggs too deep: Gently nest them so the braid doesn’t split.
Recipe Variations
- Citrus and anise: Add both lemon and orange zest plus 1/2 teaspoon anise extract for a classic flavor.
- Raisin studded: Knead in 1/2 to 3/4 cup golden raisins for extra sweetness and texture.
- Almond glaze: Skip sprinkles and drizzle with a simple almond icing (powdered sugar, milk, almond extract) after baking.
- Single loaf: Braid and bake as one large centerpiece instead of small rings.
- Chocolate chip twist: Fold in mini chocolate chips for a kid-friendly version.
FAQ
Do I need to pre-cook the eggs that sit in the braid?
No. Use raw eggs (dyed or plain).
They’ll cook through while the bread bakes. If you prefer hard-boiled eggs for peace of mind or easy peeling later, you can use those instead.
Can I make the dough ahead?
Yes. After the first rise, punch down, shape, and cover tightly.
Refrigerate overnight. Let it sit at room temperature 45–60 minutes before the second rise and baking.
What if I only have active dry yeast?
That works. Bloom it in the warm milk with a pinch of sugar until foamy before mixing.
If it doesn’t foam after 10 minutes, the yeast may be dead—start over with fresh yeast.
How do I get bright, even sprinkles that don’t burn?
Add sprinkles after brushing with egg wash, right before baking. If they start to darken, tent loosely with foil for the last 5–10 minutes.
Why is my bread dense?
Common reasons include milk that was too hot (killing yeast), not enough kneading to build gluten, or skipping a full rise. Make sure the dough doubles before shaping, and proof again until puffy.
Can I use a bread machine or stand mixer?
A stand mixer is great for kneading; keep it on medium-low to avoid overheating the dough.
A bread machine can handle mixing and first rise, but you’ll still want to shape and bake in the oven for best results.
Is it very sweet?
It’s lightly sweet, similar to a soft brioche. If you want more sweetness, add an extra tablespoon or two of sugar, or finish with icing instead of sprinkles.
What’s the best way to dye the eggs?
Use standard food coloring dye. Keep shells clean and dry before placing in the braid.
For a natural look, you can also use turmeric, red cabbage, or beet water to tint them.
Final Thoughts
Italian Easter bread brings warmth and color to the table without a lot of fuss. The dough is soft, the crumb is tender, and the braid looks festive with or without the eggs. Whether you’re keeping a family tradition or starting a new one, this recipe delivers both flavor and joy.
Serve it slightly warm with butter, share it with loved ones, and enjoy every slice.
Italian Easter Bread – A Sweet, Festive Holiday Loaf
Ingredients
- All-purpose flour: About 4 to 5 cups, divided
- Granulated sugar: 1/2 cup
- Instant or active dry yeast: 2 1/4 teaspoons (one packet)
- Whole milk: 1 cup, warmed to about 110°F/43°C
- Unsalted butter: 1/4 cup (half a stick), melted and cooled
- Eggs for dough: 2 large
- Vanilla extract: 1 teaspoon (optional but nice)
- Fine sea salt: 3/4 teaspoon
- Whole raw eggs to nest in the braid (optional): 3 to 6, dyed or plain
- Egg wash: 1 egg beaten with 1 tablespoon milk or water
- Sprinkles or pearl sugar: For topping (optional)
- Lemon or orange zest: 1 to 2 teaspoons for a citrus note (optional but traditional)
Instructions
- Warm the milk: Heat milk until just warm to the touch (about 110°F). If it’s too hot, let it cool a few minutes so it doesn’t kill the yeast.
- Activate the yeast (if using active dry): Stir yeast and a pinch of sugar into the warm milk. Let it sit 5–10 minutes until foamy. If using instant yeast, you can add it directly to the flour and skip this step.
- Mix the wet ingredients: In a large bowl, whisk the eggs, sugar, melted butter, vanilla, and zest (if using). Stir in the milk-yeast mixture.
- Add the dry ingredients: In the same bowl, add 3 1/2 cups of flour and salt. Mix with a wooden spoon or dough hook until a shaggy dough forms.
- Knead: Turn the dough onto a lightly floured surface and knead 8–10 minutes, adding just enough flour to keep it from sticking. Aim for soft and slightly tacky, not dry. If using a stand mixer, knead with the dough hook 6–8 minutes on medium-low.
- First rise: Form into a ball, place in a lightly oiled bowl, cover, and let rise in a warm place until doubled, about 60–90 minutes.
- Shape the dough: For a large braid, divide dough into 3 equal ropes, each about 16–18 inches long. Pinch the ends and braid gently. For small rings, make 6 ropes and braid pairs into circles, pinching ends together.
- Add the eggs (optional): If nesting eggs in the dough, tuck raw, dyed eggs gently into the braid. They’ll cook in the oven. Don’t press too deep—just enough so they stay put.
- Second rise: Transfer to a parchment-lined baking sheet. Cover loosely and let rise until puffy, about 30–45 minutes. Preheat oven to 350°F (175°C) while it rises.
- Brush and top: Brush with egg wash for shine. Sprinkle with colorful sprinkles or pearl sugar if you like.
- Bake: Bake 25–30 minutes for a large braid or 18–22 minutes for smaller rings, until golden brown and the loaf sounds hollow when tapped. Tent with foil if browning too fast.
- Cool: Transfer to a rack and let cool at least 20–30 minutes before slicing. The texture sets as it cools.