

These brownies are all about texture—dense, glossy, and deeply chocolatey with a subtle tang that keeps every bite interesting. If you keep a sourdough starter, this is a fantastic way to use up discard without making another loaf. The starter gives structure and moisture while letting the chocolate shine.
No complicated steps, just simple ingredients and a few smart techniques. The result? A pan of brownies that taste like a bakery treat with minimal effort.
Why This Recipe Works

- Sourdough starter adds moisture and chew: The natural hydration and starches in starter create a fudgy, almost truffle-like crumb.
- Browned butter boosts flavor: Toasty, nutty notes from browned butter deepen the chocolate and add richness without extra fuss.
- Cocoa + melted chocolate: Using both delivers intense flavor and that glossy top we all want.
- Minimal flour, maximum chocolate: Less flour keeps things dense and fudgy instead of cakey.
- Just the right sugar blend: Granulated sugar helps form a shiny crust, while a touch of brown sugar adds moisture.
What You’ll Need
- 200 g (1 cup) granulated sugar
- 50 g (1/4 cup) light brown sugar, packed
- 115 g (1/2 cup) unsalted butter
- 170 g (1 cup) dark chocolate chips or chopped dark chocolate (60–70% cacao)
- 30 g (1/3 cup) Dutch-process cocoa powder
- 2 large eggs, room temperature
- 1 tsp pure vanilla extract
- 150 g (about 3/4 cup) sourdough starter (100% hydration), discard or active
- 65 g (1/2 cup) all-purpose flour
- 1/2 tsp fine sea salt
- Optional add-ins: 1/2 cup chopped walnuts or pecans, 1/2 cup chocolate chunks, flaky salt for topping
Step-by-Step Instructions

- Prep the pan and oven: Heat the oven to 350°F (175°C).
Line an 8×8-inch (20×20 cm) metal pan with parchment, leaving overhang for easy removal. Lightly grease the sides.
- Brown the butter: In a medium saucepan, melt the butter over medium heat. Keep cooking, swirling often, until it foams and the milk solids turn golden and smell nutty, 3–5 minutes.
Remove from heat.
- Melt the chocolate: Add the dark chocolate to the hot browned butter and let it sit for 1 minute. Stir until smooth and glossy. If needed, warm briefly over very low heat to fully melt.
- Whisk in cocoa: Stir in the cocoa powder until no lumps remain.
This blooms the cocoa and intensifies the chocolate flavor.
- Add sugars: Whisk in granulated sugar and brown sugar. The mixture will look thick and grainy—this is normal.
- Beat in eggs and vanilla: Add eggs and vanilla. Whisk vigorously for 45–60 seconds until the batter looks shiny and slightly thickened.
This helps create that crackly top.
- Incorporate the sourdough starter: Stir in the starter until fully combined. The batter should look smooth and glossy.
- Fold in dry ingredients: Sprinkle flour and salt over the batter. Fold gently with a spatula just until no dry streaks remain.
Avoid overmixing to keep the brownies tender.
- Add mix-ins (optional): Fold in nuts or extra chocolate chunks. Keep add-ins modest so the brownies stay ultra fudgy.
- Pan and bake: Spread the batter evenly in the prepared pan. Smooth the top.
Bake 24–30 minutes, until the edges are set and the center is still slightly soft. A toothpick should come out with moist, fudgy crumbs—not wet batter.
- Cool completely: Set the pan on a rack and let the brownies cool fully, at least 1–2 hours. For the cleanest slices, chill for 30 minutes before cutting.
- Finish: Sprinkle with flaky salt if you like.
Lift out using the parchment and cut into squares with a sharp, warm knife, wiping between cuts.
Storage Instructions
- Room temperature: Store in an airtight container for 2–3 days. They stay moist thanks to the starter.
- Refrigerator: Keep up to 5–6 days. The texture becomes extra dense and fudgy when chilled.
- Freezer: Wrap individual squares tightly and freeze up to 2 months.
Thaw at room temp or warm briefly in the microwave.
Benefits of This Recipe
- Great use for discard: A practical, delicious way to reduce waste from sourdough maintenance.
- Unbeatable texture: The combo of starter and minimal flour guarantees chewy centers and fudgy edges.
- Deep, layered flavor: Browned butter, cocoa, and dark chocolate combine for a complex, not-too-sweet bite.
- Flexible and forgiving: Works with active starter or discard, and takes well to mix-ins.
- Bakery-level shine: Proper sugar and egg aeration create that coveted crackly top.
Common Mistakes to Avoid
- Overbaking: Pull them when the center still looks a bit soft. They set as they cool.
- Skipping the whisking step: Not beating the eggs and sugar enough can lead to a dull surface and denser texture.
- Using too much flour: Stick to the measured amount. Extra flour pushes the brownies toward cakey.
- Hot batter + eggs: If the chocolate mixture is too hot, it can scramble the eggs.
Let it cool a minute before whisking in.
- Cutting too soon: Warm brownies fall apart. Let them cool for clean, neat squares.
Alternatives
- Gluten-free: Swap all-purpose flour for 1:1 gluten-free baking flour. Ensure your starter is fed with a gluten-free flour blend.
- Dairy-free: Use a dairy-free butter alternative and quality dairy-free dark chocolate.
Skip browning if your butter substitute can’t brown well.
- Extra dark: Increase cocoa to 1/2 cup and add 1–2 tablespoons of brewed coffee or espresso powder for deeper flavor. If needed, mix in 1 tablespoon milk to keep the batter spreadable.
- Nutty swirl: Dollop 1/3 cup warm peanut butter or tahini over the batter and swirl with a knife before baking.
- Mint or orange: Add 1/2 teaspoon peppermint extract or 1 teaspoon orange zest to the batter.
FAQ
Can I use active starter instead of discard?
Yes. Active starter works just as well as discard here.
The rise doesn’t rely on the starter’s yeast; it adds moisture and structure, so use whichever you have on hand.
What if my starter is very sour?
Use a slightly higher ratio of chocolate chips or add 2 tablespoons more sugar to balance. You can also feed your starter and use it a few hours later when it’s milder.
Do I need baking powder or baking soda?
No. These are intentionally dense and fudgy, not cakey.
The slight lift comes from whisking the eggs and sugar.
How do I know when they’re done?
Check at 24 minutes. The edges should be set and the center should jiggle just a touch. A toothpick should have moist crumbs, not wet batter.
Can I double the recipe?
Yes.
Bake in a 9×13-inch pan for 28–35 minutes. Watch closely near the end and test for doneness the same way.
Why didn’t I get a shiny, crackly top?
Usually it’s from under-whisking the eggs and sugar or reducing the granulated sugar too much. Make sure to whisk vigorously after adding the eggs, and don’t cut the sugar.
Can I make them less sweet?
You can reduce the granulated sugar by up to 25 g, but note this may dull the shiny crust.
Consider using a higher-cacao chocolate instead to balance sweetness.
What cocoa is best?
Dutch-process cocoa gives a smoother, darker chocolate flavor. Natural cocoa works too but will be a touch brighter and less deep.
My batter seems thick—is that normal?
Yes. Thick batter spreads into a dense, fudgy brownie.
If it’s excessively stiff, your starter may be drier; add 1–2 teaspoons milk to loosen slightly.
Can I add frosting?
You can, but these are rich on their own. If you do, a thin layer of chocolate ganache or a light dusting of cocoa is plenty.
Wrapping Up
Ultra fudgy sourdough brownies bring together pantry staples and a spoonful of starter for a dessert that tastes special with very little work. The browned butter, cocoa, and dark chocolate create deep, complex flavor, while the starter locks in moisture and chew.
Keep this recipe handy for when you’ve got discard to use or just want a guaranteed crowd-pleaser. One bowl, simple steps, and a pan of irresistibly rich squares—hard to beat. Enjoy them today, and stash a few for later if you can.

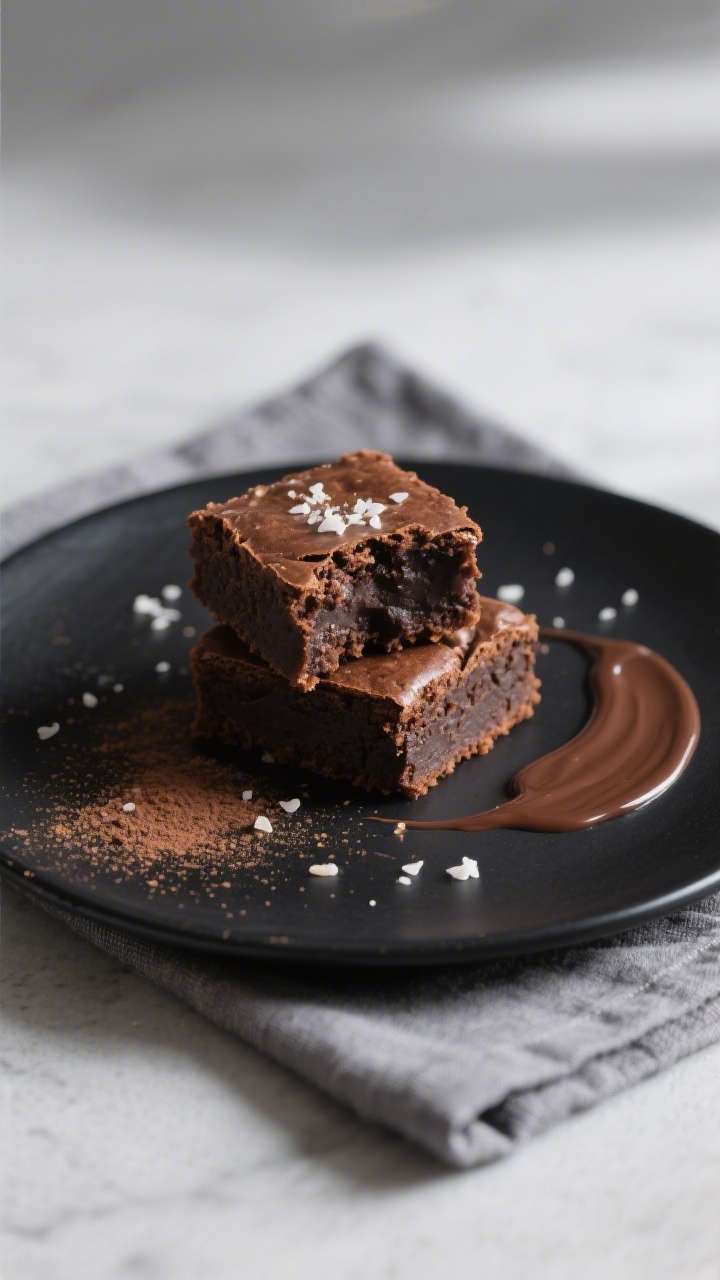
Ultra Fudgy Sourdough Brownies – Rich, Chewy, and Unbelievably Moist
Ingredients
- 200 g (1 cup) granulated sugar
- 50 g (1/4 cup) light brown sugar, packed
- 115 g (1/2 cup) unsalted butter
- 170 g (1 cup) dark chocolate chips or chopped dark chocolate (60–70% cacao)
- 30 g (1/3 cup) Dutch-process cocoa powder
- 2 large eggs, room temperature
- 1 tsp pure vanilla extract
- 150 g (about 3/4 cup) sourdough starter (100% hydration), discard or active
- 65 g (1/2 cup) all-purpose flour
- 1/2 tsp fine sea salt
- Optional add-ins: 1/2 cup chopped walnuts or pecans, 1/2 cup chocolate chunks, flaky salt for topping
Instructions
- Prep the pan and oven: Heat the oven to 350°F (175°C). Line an 8×8-inch (20×20 cm) metal pan with parchment, leaving overhang for easy removal. Lightly grease the sides.
- Brown the butter: In a medium saucepan, melt the butter over medium heat. Keep cooking, swirling often, until it foams and the milk solids turn golden and smell nutty, 3–5 minutes. Remove from heat.
- Melt the chocolate: Add the dark chocolate to the hot browned butter and let it sit for 1 minute. Stir until smooth and glossy. If needed, warm briefly over very low heat to fully melt.
- Whisk in cocoa: Stir in the cocoa powder until no lumps remain. This blooms the cocoa and intensifies the chocolate flavor.
- Add sugars: Whisk in granulated sugar and brown sugar. The mixture will look thick and grainy—this is normal.
- Beat in eggs and vanilla: Add eggs and vanilla. Whisk vigorously for 45–60 seconds until the batter looks shiny and slightly thickened. This helps create that crackly top.
- Incorporate the sourdough starter: Stir in the starter until fully combined. The batter should look smooth and glossy.
- Fold in dry ingredients: Sprinkle flour and salt over the batter. Fold gently with a spatula just until no dry streaks remain. Avoid overmixing to keep the brownies tender.
- Add mix-ins (optional): Fold in nuts or extra chocolate chunks. Keep add-ins modest so the brownies stay ultra fudgy.
- Pan and bake: Spread the batter evenly in the prepared pan. Smooth the top. Bake 24–30 minutes, until the edges are set and the center is still slightly soft. A toothpick should come out with moist, fudgy crumbs—not wet batter.
- Cool completely: Set the pan on a rack and let the brownies cool fully, at least 1–2 hours. For the cleanest slices, chill for 30 minutes before cutting.
- Finish: Sprinkle with flaky salt if you like. Lift out using the parchment and cut into squares with a sharp, warm knife, wiping between cuts.